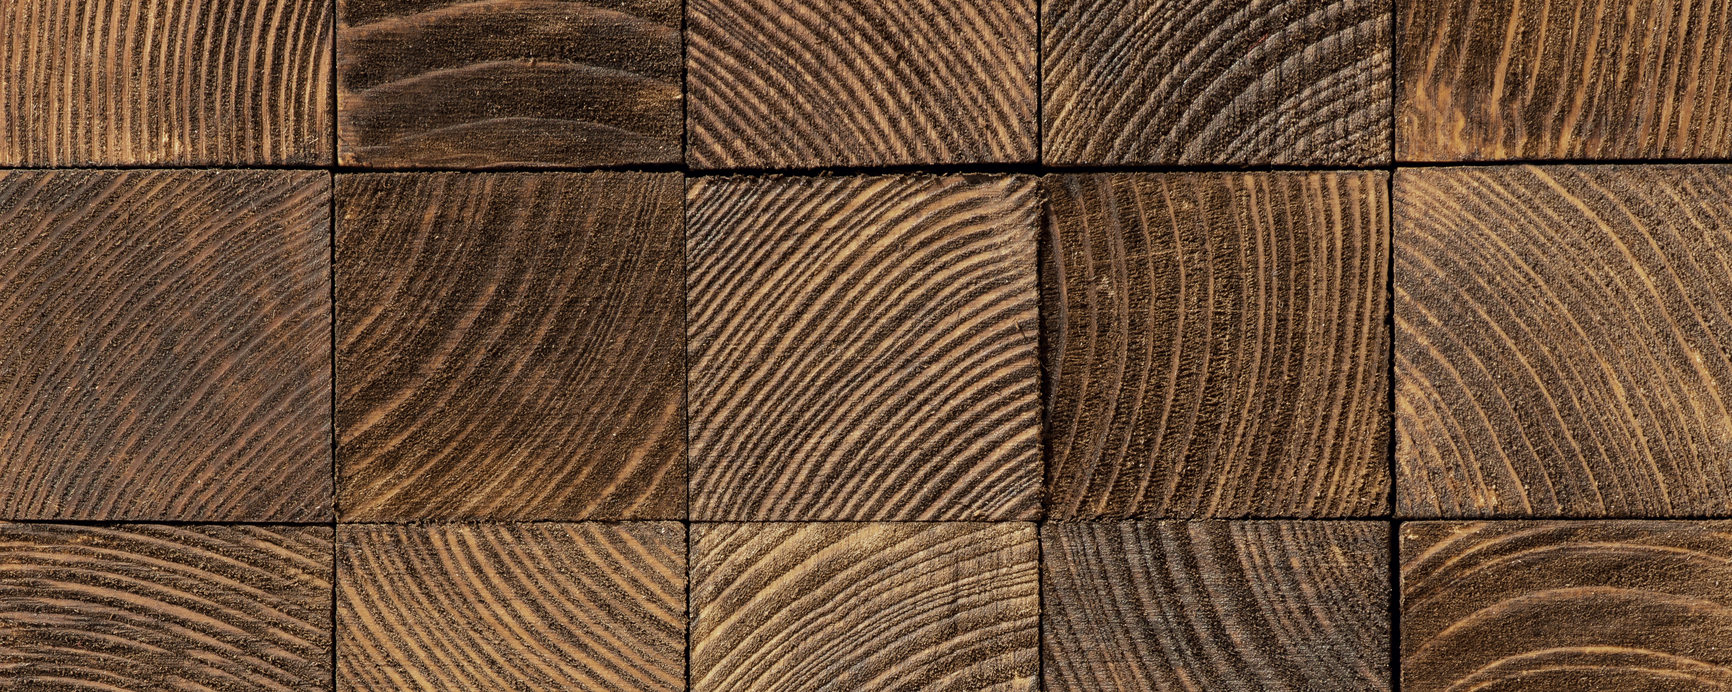
There are a lot of cheap cutting boards and mass produced cutting boards these days. So if you want your charcuterie board at the next party you are hosting or invited to to be the center piece maybe you should make it yourself. And I am not talking about adding the cheese, meat and other accoutrements to the board itself. I am talking about you buying the hard wood, cutting it to size, glueing and clamping it together. Sanding, finishing it and getting it ready for use all by yourself. If this seems like a daunting task, trust me, it is and if you have no interest in building something then just head on over to my shop and purchase one hand made by me.
Here are the 5 steps you will need to follow to make your very own Charcuterie Board.
Step 1. Go to you local hardwood lumber store (not Home Depot) and pick out your favorite style hardwood. Some wood is better than others I like to use Maple or Walnut for charcuterie boards one because I like how they look and two they are good for keeping out bacteria and residue when using it for cutting up food.
Step 2. Pick out what size you want, double check your measurements and then cut the piece of wood to the size of boards you want.
Step 3. Glue and clamping the pieces of wood together and make sure it all lines up so you won’t have to do as much sanding when it is done drying.
Step 4. Once done drying, Cut it to the shape and size you want and start sanding.
Step 5: Soak in food grade mineral oil wipe and repeat a few times before using.
Step 6. If you have read these simple steps and don’t think you can pull it off for an affordable price you are probably correct. Woodworking takes practice and most first projects don’t turn out like the pros. I have spent the last decade fine tuning my woodworking skills and I only get better everyday.

